

Customer Interface Unit
Description
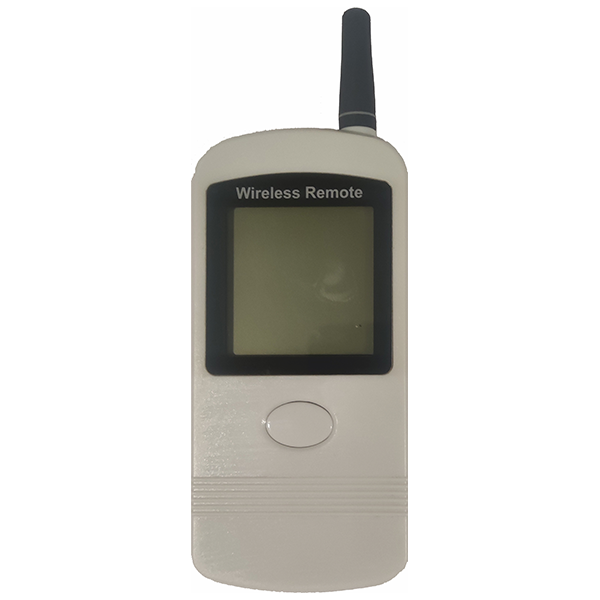
The CIU8.B-2-1 user display is designed to display the credentials from the electricity meter, to which it is informationally linked, but can be located at some distance from the metering device, in a convenient place for the user. The display is used in cases when the meter is installed in a hard-to-reach place and it is impossible to read the information from the meter display directly (for example, if the meter is installed on a power line pole). Transmission of information from the metering device to the display is carried out directly, without the use of the UDPD, via the Wireless M-Bus radio channel.
Specifications
Supply voltage - 3 V· Radio transmitter carrier frequency - 868.95 MHz· The peak power of the radio transmitter is not more than 10 mW· Backlit LCD Display· Sheath protection - IP 40· Data refresh interval - from 10 s · Dimensions: (160x63x18) mm· Weight not more than 0.12 kg
Using the CIU8 Custom Display
Before use, the batteries must be placed in the compartment located on the back of the display. The compartment is covered by a battery cover (pos. 1, fig. 1), which keeps the batteries inside the case during operation.
To install the batteries, press the oval notch on the battery cover (pos. 2, fig. 1), slide the cover down until it stops, and then pull the cover towards you and remove it.
Next, you can install the batteries according to the polarity indicated on the bottom of the battery compartment (Fig. 2) and close them with the lid, first inserting the cover into place, as shown in Figure 1 and then pushing it back into place.
Attention! Use only alkaline batteries, because when using cheap salt (carbon-zinc) batteries, in addition to the need to replace them frequently, in case of deep discharge, it is possible to break the seal of the batteries and leak the electrolyte, which can lead to irreversible damage to the display.
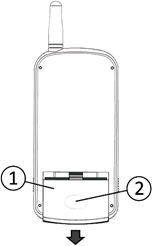
Rice. 1 – Removing the lid
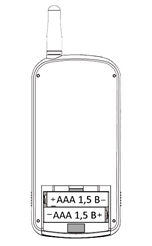
Rice. 2 – Installing the Batteries
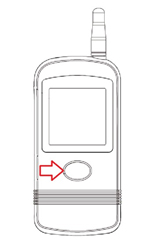
Rice. 3 – Button on the display
1. Turn on the display with a single short press of the button in the center (Fig. 3).
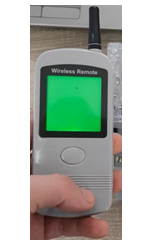
2. You'll see 3 service frames in turn:
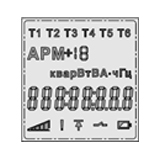
Rice. 4 - Verification

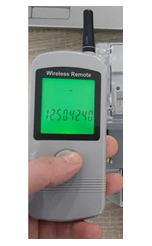
Fig.5 - Firmware version Remote Display
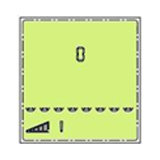
Fig.6 - Starting the display at the same time as turning on the green backlight
The remote display is ready to go. Display frames will change automatically every 6 seconds. Forced frame change (flipping) is carried out by a short press on the display button.
P R I M E C H A N I E : IF YOU DO NOT PRESS THE BUTTON FOR 40S, THE BACKLIGHT IS TURNED OFF, IF YOU DO NOT PRESS THE BUTTON FOR 3M, THE DISPLAY WILL AUTOMATICALLY TURNS OFF. FORCED SHUTDOWN IS PERFORMED BY HOLDING THE BUTTON FOR 6 SECONDS FOR A LONG TIME.
The standard display configuration includes 6 frames:
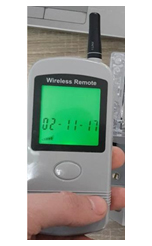
- Time of the last successful data transfer from the counter to the display (Fig. 7)
- Date of the last successful data transfer from the counter to the display (Fig. 8)
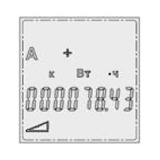
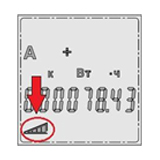
- Total active energy (general readings) (Fig. 9)
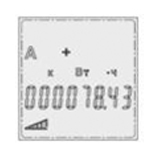
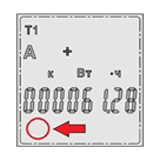
- Active Energy Tariff 1 (Fig. 10)
- Active Energy Tariff 2 (Fig. 11)
- The number of the counter and the value of the link status indicator (figure 3) (Fig. 12)
Take heed! It is imperative to check whether the number displayed on the display coincides with the number of your metering device! If the numbers do not match, you need to contact the network organization.

Rice. 7 - Time of the last successful transfer of data from the counter to the display
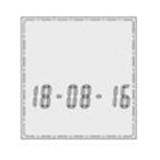
Rice. 8 - Date of the last successful transfer of data from the counter to the display
Rice. 9 - Active energy imports, total
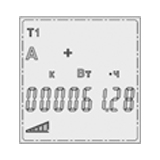
Rice. 10 - Active energy imports, tariff 1
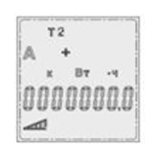
Rice. 11 - Active energy imports, tariff 2
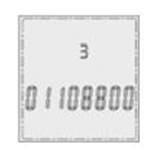
Rice. 12 - Number of the meter to which the display is linked
Examples of displaying other measured values are given in the instrument data sheet.
The display can be located at a short distance from the pole on which the meter is mounted. The maximum distance that the display can move away from the meter is determined in each case by electromagnetic environmental conditions, terrain conditions, buildings, etc.
After some time after turning it on (up to 2-5 minutes), in the lower left corner of the display, you will see the meter signal strength indicator filling in:
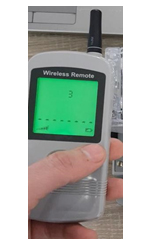
This means that there is a connection between the display and the counter. Then, for some time (2-5 minutes), the link status indicator will change from "3" to "6":
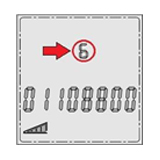
A value of "6" on the link status indicator means that the data has been transferred to the display, and after 10-20 seconds you will see the updated reading and date/time.
The complete absence of the connection status indicator means that there is no connection for more than 2 minutes and the need to wait for the indicator to appear for a short time (2-5 minutes). If the connection status indicator is not displayed on the display, you can also try to move closer to the metering device.
P R I M E C H A N I E : THUS, READING WITH THE HELP OF A REMOTE DISPLAY IS CARRIED OUT BY SIMPLY FLIPPING THROUGH THE DISPLAY FRAMES (ONCE EVERY 1-2 MINUTES) FOR 2-5 MINUTES. IF YOUSEE THAT THERE IS A SIGNAL FROM THE COUNTER (THE INDICATOR IN THE FORM OF A TRIANGLE IS AT LEAST PARTIALLY FILLED), BUT THE READINGS ARE NOT UPDATED, THE WAITING TIME NEEDS TO BE INCREASED.
If, after turning on the display, the data from the meter does not start to be displayed automatically within 10 minutes, you can perform the procedure of pairing the user display with the meter manually.
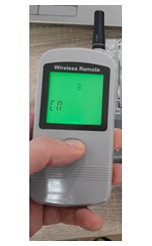
- 1. Short press the button of the CIU8 User Display (hereinafter referred to as PD) to scroll to screen 3.
- 2. Then hold down the button until you start searching for the device, as shown in Figures 13 and 14 (pressing and rotating the rectangular segment in the center of the LCD).
- 3. After the meter number appears, the search will continue and you need to do it for a short time press the button to accept the received meter number (Fig. 15).
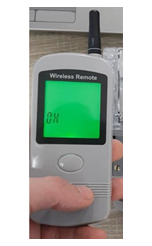
- 4. If the entry "OK" appears on the left side of the LCD, it means that the PD has contacted the meter (Fig. 1). 16).
- 5. After that, a scale of the connection level to the counter will appear in the lower left part of the LCD display (Fig. 1). 17), and then the date/time of the counter will be synchronized with the PD (Fig. 1).18).
- 6. Then, with short presses on the PD button, you can flip through the LCD screens.
Rice. 13
Rice. 14
Rice. 15
Rice. 16
Rice. 17
Rice. 18
Note: Active energy (power), import is the energy (power) consumed by the subscriber.